Main interface
When you open a new game (or load a saved game), you will be presented with the following interface:
The above screenshot contains four parts:
The top toolbar. This has options for pausing, loading and saving your game; modifying views; adding new things to your park and managing it.
The bottom toolbar. This consists of the two green blocks in either bottom corner, as well as the news bar, which will appear between them if a news message arrives.
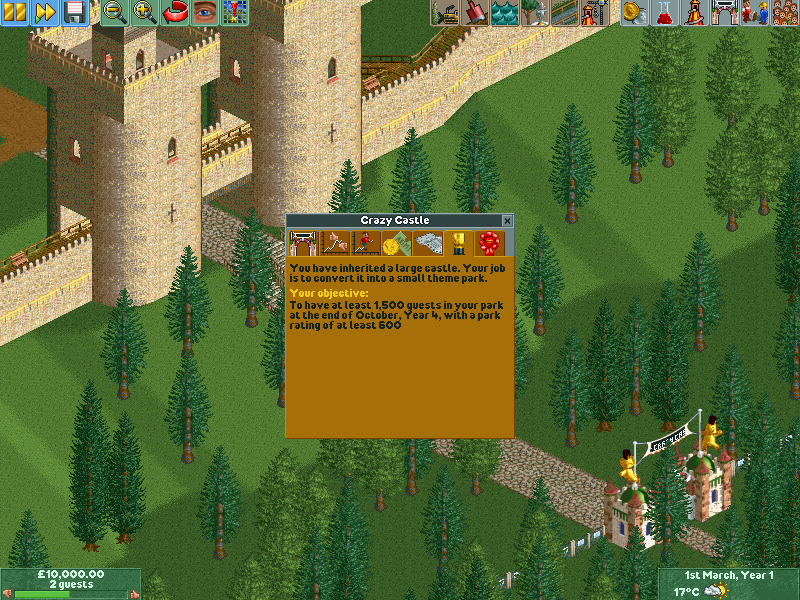
The park window. This window will open automatically if you start a new game. The window shows some statistics, allows changing the admission price and shows your objective.
The viewport. This consists of everything not covered by a toolbar or a window and provides a view on your actual park.
The top toolbar

The top toolbar is divided into four groups.
The first group consists of:
The pause button. Click it to pause the game. Click it again to unpause. When your game is paused, you won’t be able to build.
The fast forward button. This speeds up the time (up to 8×). This can be useful if you need to wait for an event to happen (like earning money or invention of a ride).
The disk options button. This allows you to start a new game, load or save, take a screenshot, modify options or quit the game.
The second group consists of view options:
The zoom out button. This allows you to get a better view of your park, at the cost of some detail.
The zoom in button This allows you to take a closer look.
The rotate view button. The will rotate the view by 90 degrees.
The view options button. Allows you to hide elements from the map and look underground.
The map button. Will open the Map window, which shows an overview of your park.
The third group consists of build options:
The clear scenery button. This allows you to clear large spaces easily. (It can optionally also clear paths.)
The land button. Allows you to change land types and change elevation.
The water button. Allows you to change water levels.
The scenery button. Allows you to place scenery, which makes your park more beautiful.
The footpaths button. Allows you to place footpaths and queue lines.
The new rides button. Opens up a window that allows you to build new rides in your park.
The fourth group consists of management options:
The finances button. This gives you insight into your finances and allows you to take out loans and marketing campaigns.
The research and development button. This gives you access to research and development settings, including funding, priorities, and checking status of the current invention.
The rides list button. Shows a list of rides, shops and stalls, and facilities.
The park window button. This opens up the park window (note that it is already open in the screenshot at the top of this page).
The staff button. Allows you to hire and sack staff, check their status and assign them to specific areas.
The guest list button. This shows all your guests. You can use this to see what your guests want or need to improve their visit (and thus increase your park rating).
Besides these, there are also some additional buttons that are not shown by default, but which can be enabled in the Options window.